18 Rental Kitchen Ideas That Hide Builder Grade Basics

Every rental kitchen has that one detail you didn’t pick and can’t stand. Maybe it’s beige laminate counters, brass hardware from another decade, or a light fixture straight out of a builder’s showroom. You can’t paint the cabinets or rip out the backsplash, so you live with it and hope you stop noticing.
Here’s the thing: you don’t need permission to change how a kitchen feels, only how it looks. Most rental kitchen ideas online assume you can drill, paint, or replace things outright, which isn’t realistic when you want your deposit back.
This list skips that advice. Every idea here is reversible, renter friendly, and cheap enough to try this weekend, whether you’re covering counters, swapping hardware, or fixing lighting that makes everything look flat. Some take twenty minutes. A few take an afternoon. None require calling your landlord first.
Grab whatever you’re most tired of looking at and start there.
1. Cover Laminate Counters With a Peel-and-Stick Butcher Block Wrap
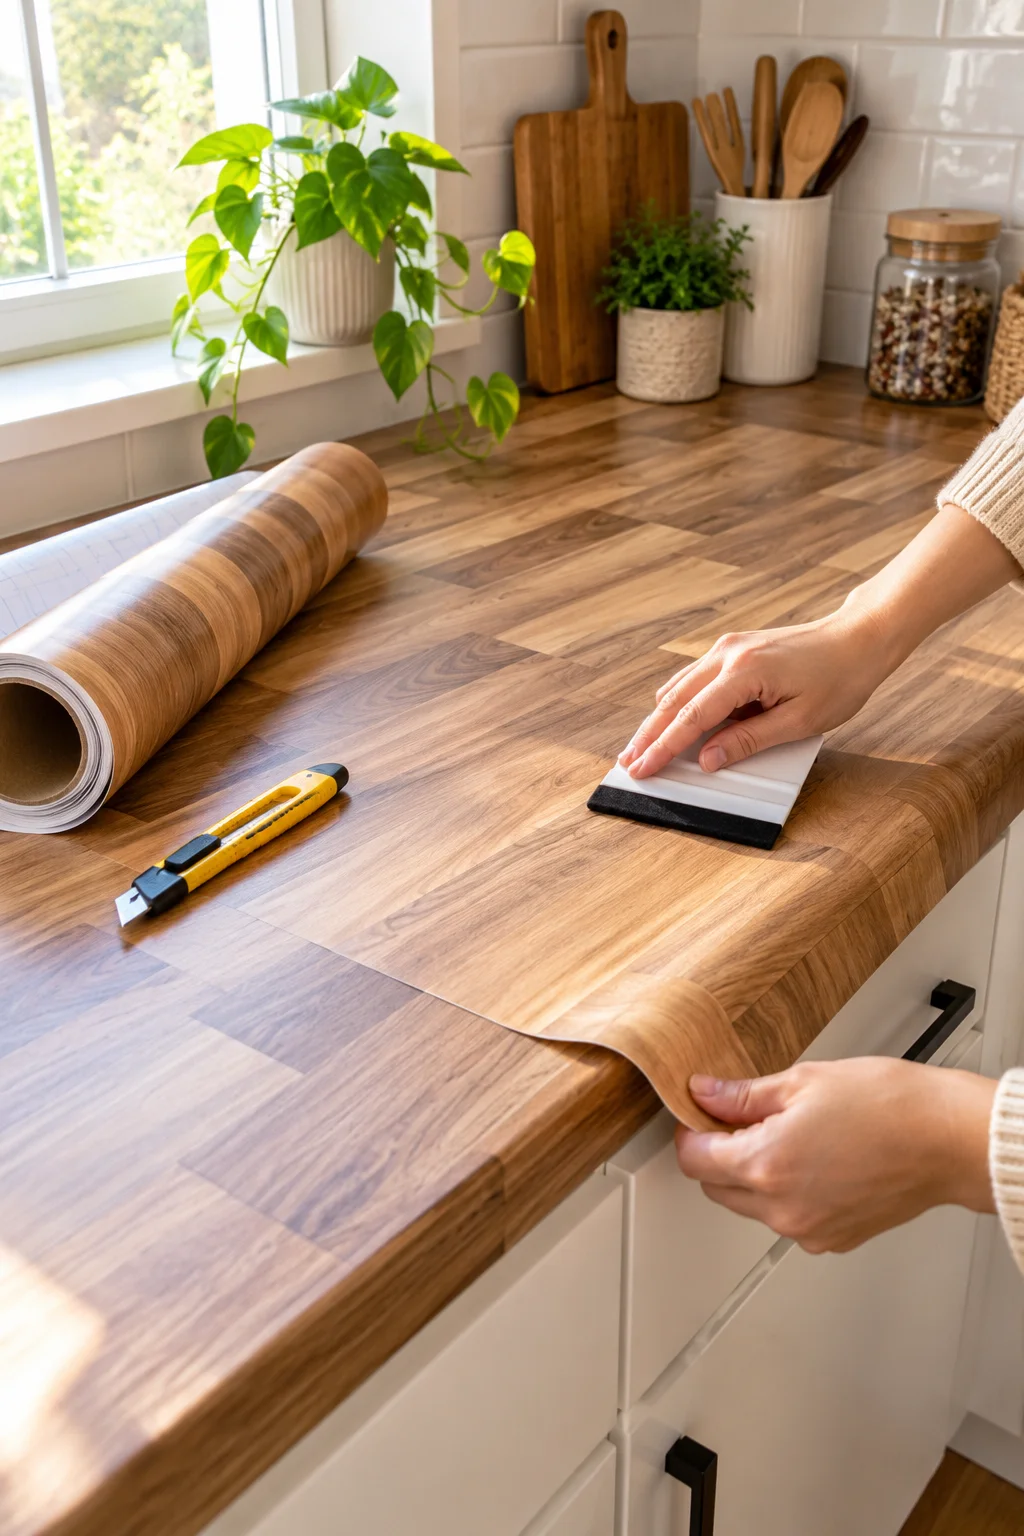
Laminate counters give away a kitchen’s age faster than anything else in the room. The fix isn’t sanding or refinishing, it’s a peel-and-stick butcher block wrap you press directly over the existing surface. Look for a textured vinyl option instead of a flat matte one, since texture hides seams and small bumps far better. Clean the counter, apply in one direction, and trim with a blade instead of scissors for a straight edge. It pulls off clean at move-out, which is really the whole point.
Scratched, dated laminate that instantly signals a rental.
A warm butcher block look that hides seams and scratches completely.
2. Snap New Pulls Right Over the Old Cabinet Knobs (No Drilling)
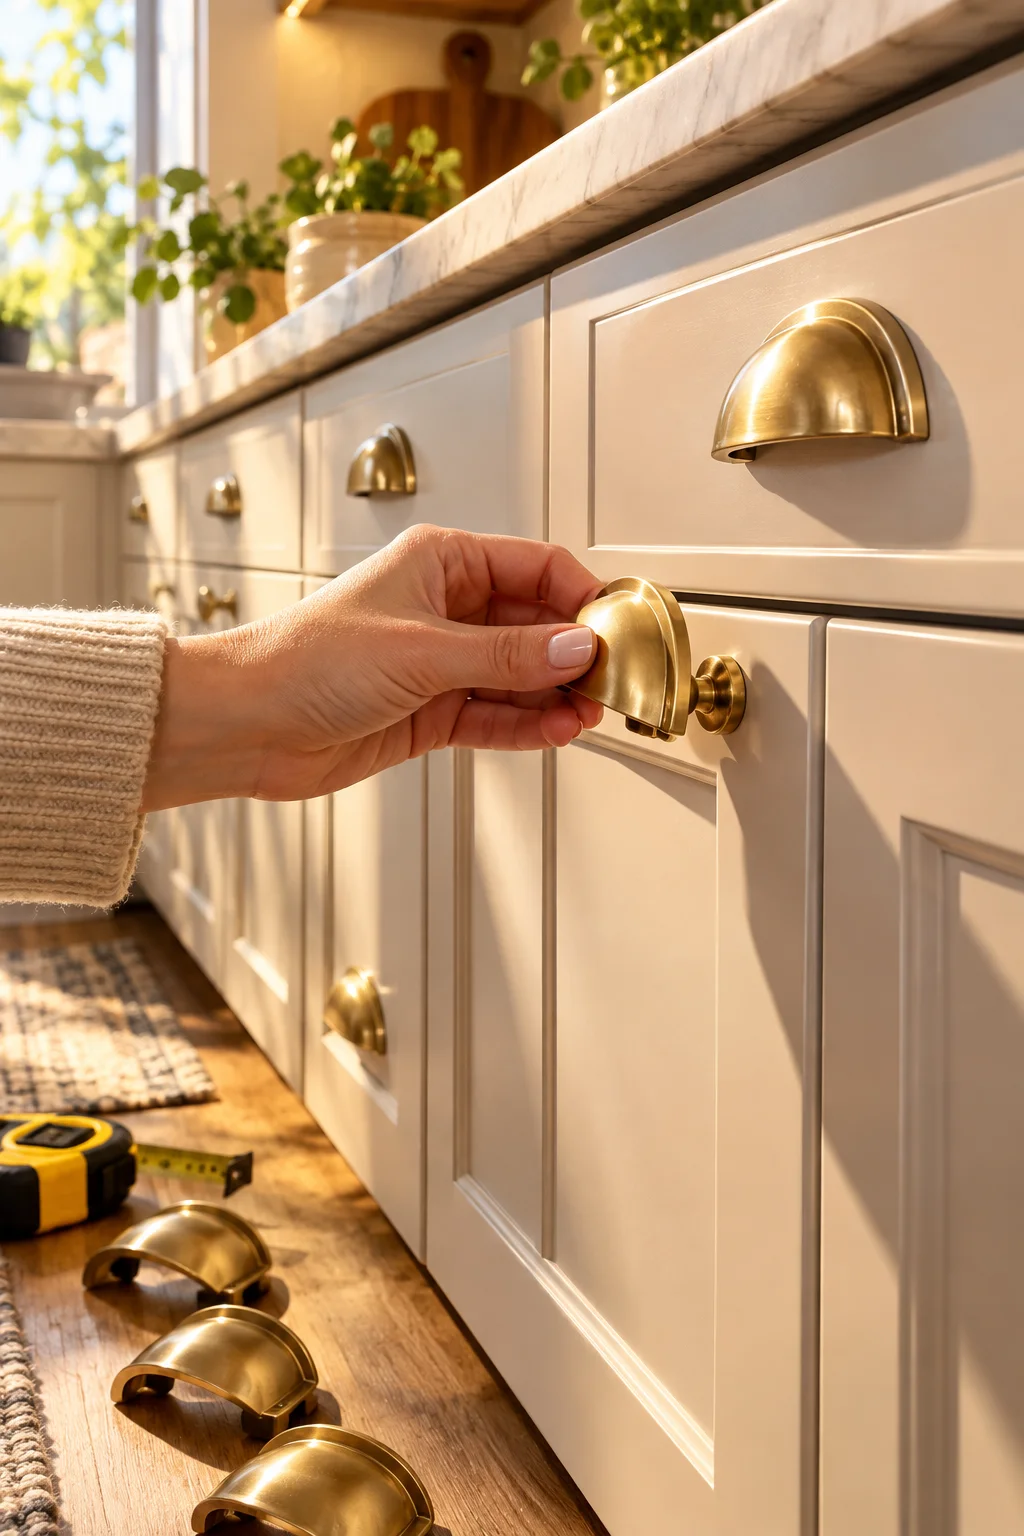
Buy pulls sized to clip over your existing knob holes so nothing new gets drilled. Most hardware stores sell overlay pulls in a handful of standard spacings, so measure first.
- Measure the hole spacing on one knob before you shop
- Pick a finish that matches your faucet or light fixtures
- Save the original knobs in a labeled bag for move-out
The whole kitchen looks different with new pulls, even though the cabinets themselves haven’t changed at all.
💡 Quick Tip
Snap-over pulls come in a few standard widths. Bring a tape measure or a photo of your current knob spacing so you buy the right size the first time.
3. Add Peel-and-Stick Beadboard Panels to Flat Cabinet Doors
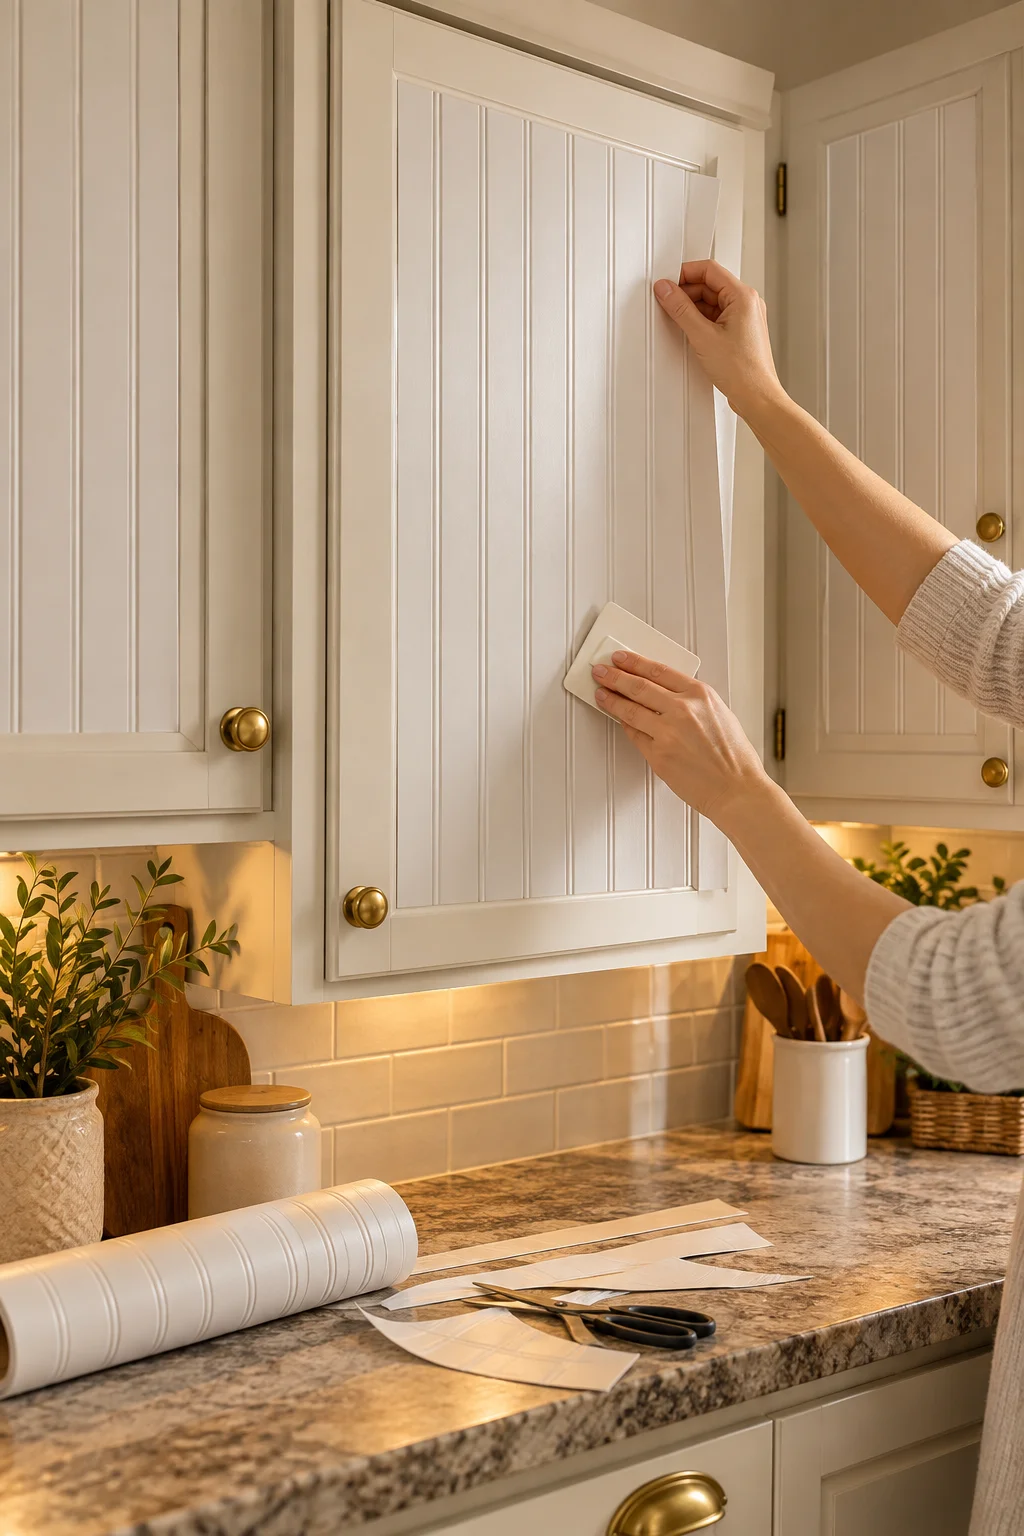
Flat slab cabinet doors read as cheap because there’s no shadow line anywhere on them. A thin beadboard wallpaper panel, cut to fit inside the door’s flat panel and pressed on with light pressure, adds that missing texture in about ten minutes per door.
Stick to doors below eye level first, since bubbles are easier to smooth out down low than up high. Skip glass front cabinets entirely, since the paper shows through and looks obviously fake.
Start with lower cabinet doors where bubbles are easy to smooth.
Press from the center of the panel outward.
Glass front cabinet doors, since the paper shows through.
Rushing the corners. They lift first.
4. Hide a Plain Backsplash Under a Removable Tile Overlay
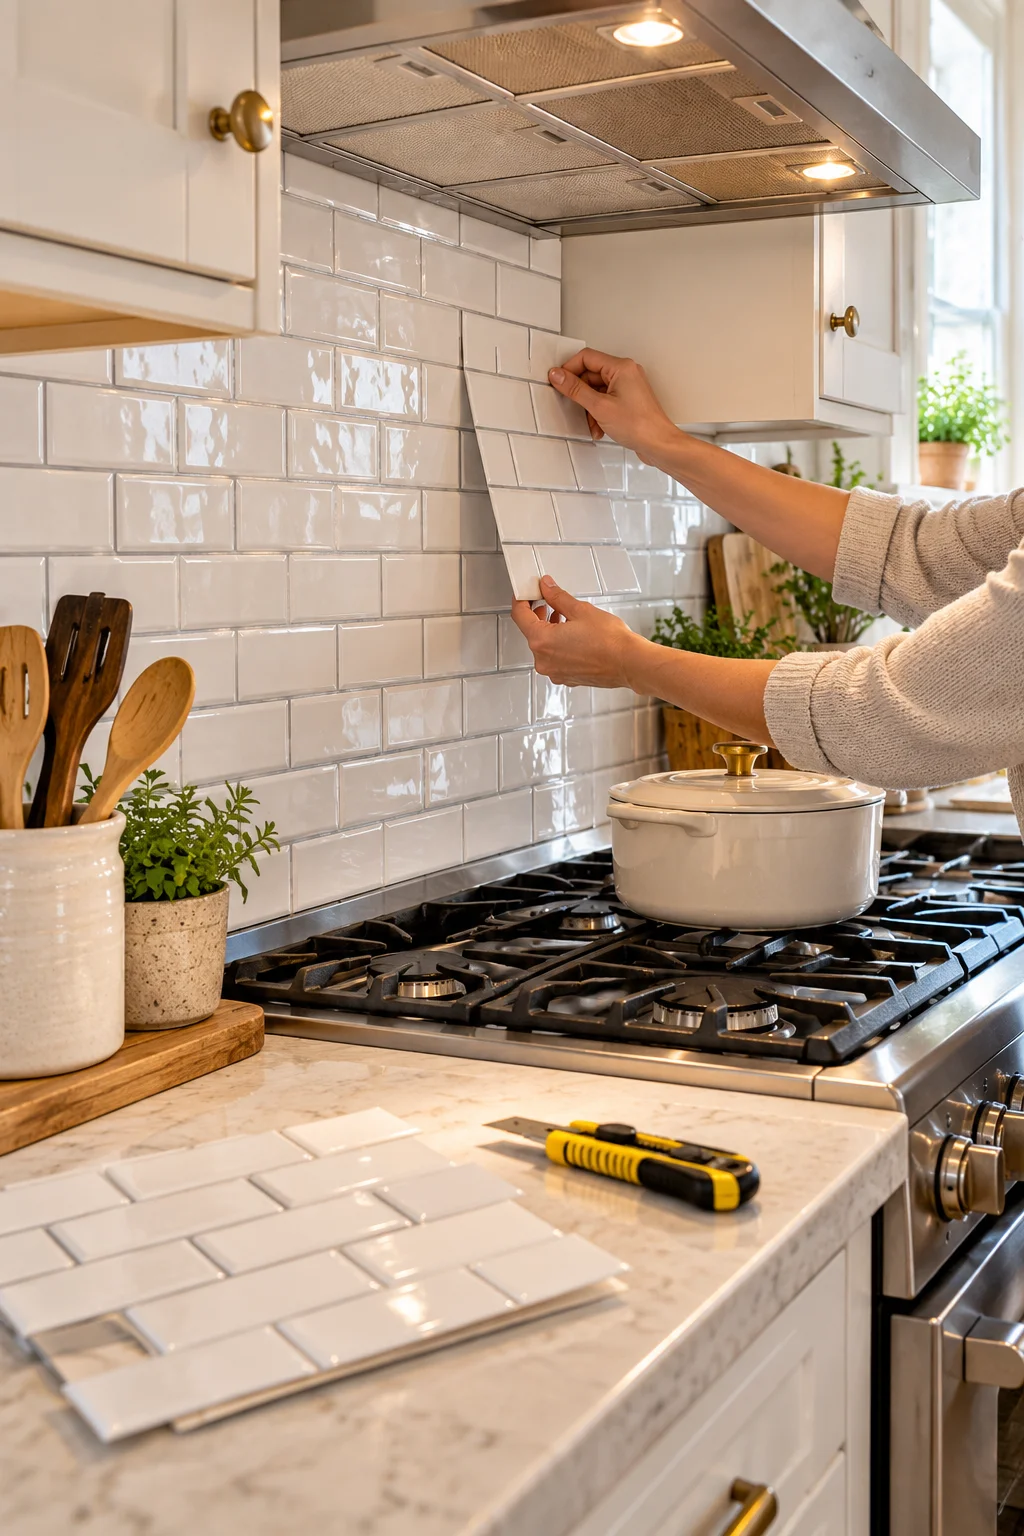
Peel-and-stick tile does not have to look like peel-and-stick tile. The trick is picking a design with actual dimension, like a small subway shape with grout lines molded in, instead of a flat printed pattern that reads as plastic under kitchen lighting.
Order a sample first and hold it against your existing backsplash under both daytime and overhead light before committing to a full box.
Wipe the existing backsplash clean and let it dry fully.
Cut tile sheets to fit around outlets before peeling any backing.
Press from the center out, then seal edges with clear caulk.
5. Wrap the Fridge Front in Wood-Look Contact Paper
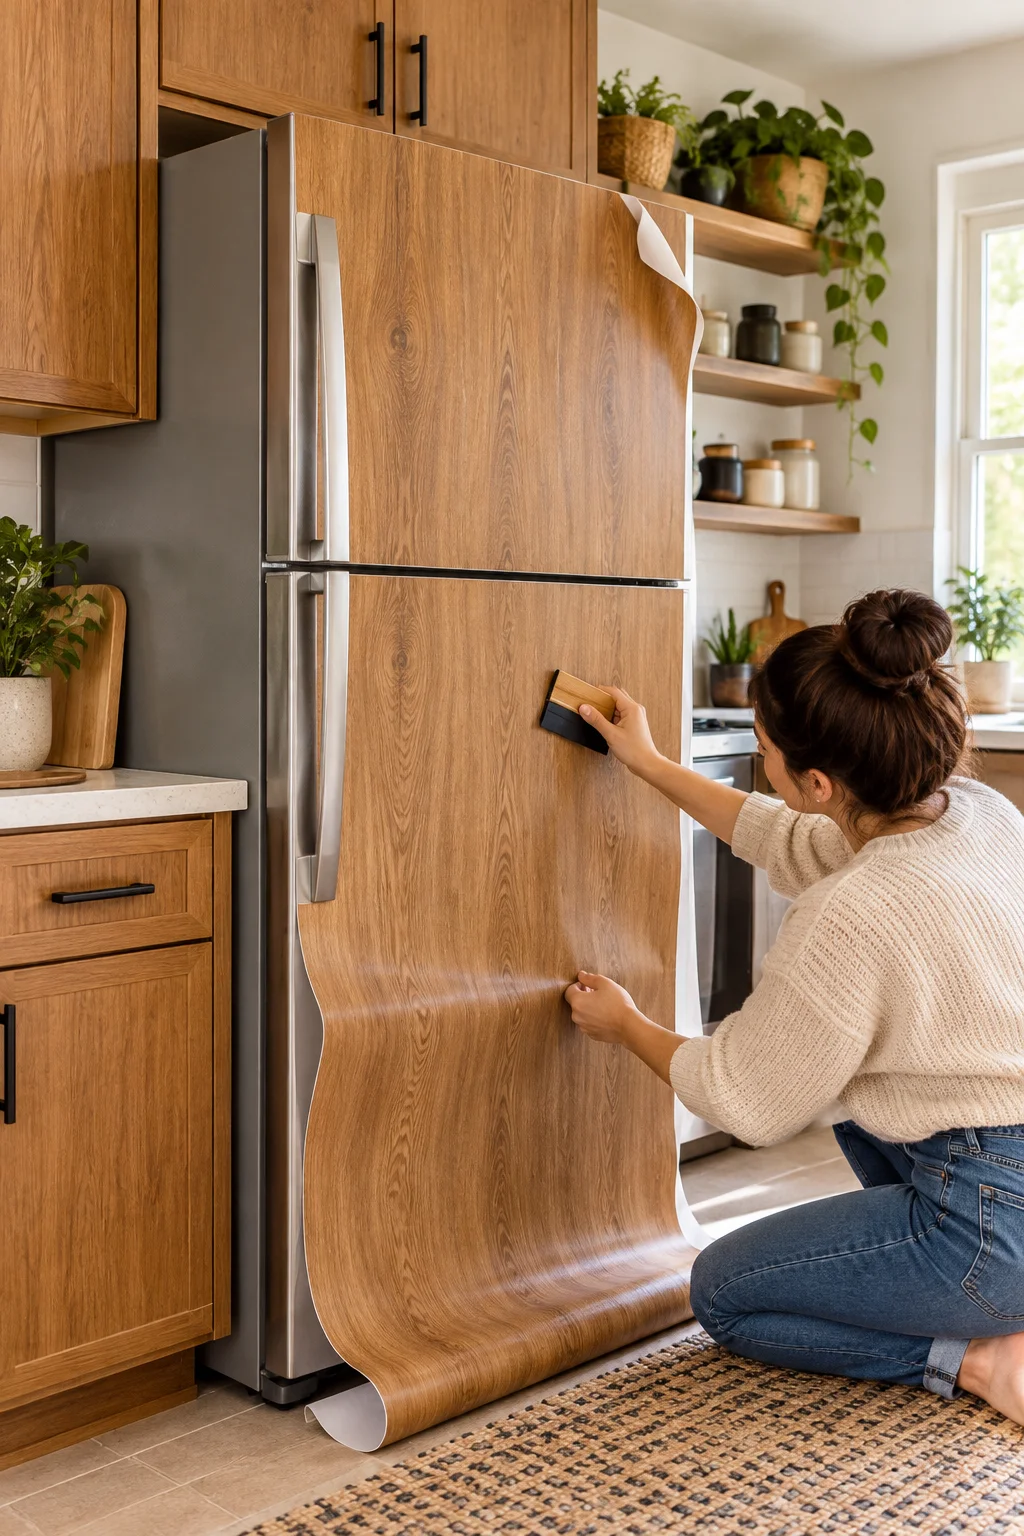
The fridge is the biggest white box in most rental kitchens, and it’s usually the first thing anyone sees walking in. Wood-look contact paper wrapped around the front and sides breaks up that slab of white without touching anything permanent.
Work in sections no bigger than your forearm span, smoothing as you go, and expect the top corners to take the most patience. Skip the freezer handle area if yours opens with a metal strip, since paper won’t hold up to daily grip pressure.
6. Match the Dishwasher Panel to Your New Cabinet Look
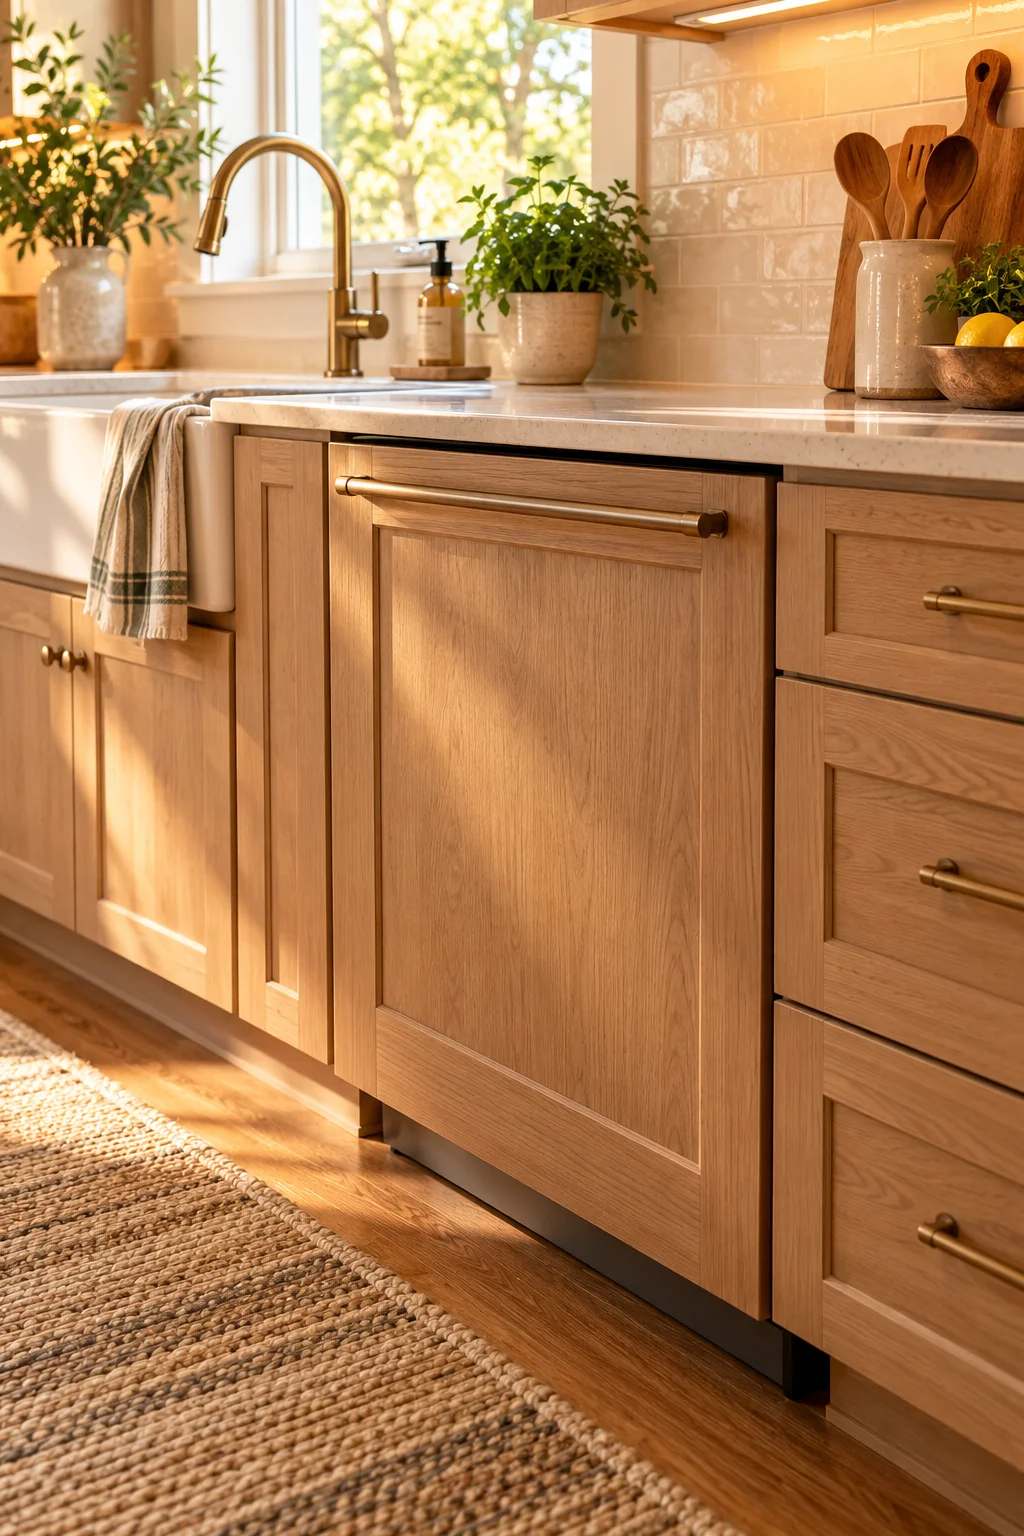
A mismatched dishwasher stands out more once you’ve updated the cabinets around it. Two materials handle this well, and they behave pretty differently once you’re living with them day to day.
| Adhesive Wrap | Contact Paper |
|---|---|
| Handles daily heat and steam well | Cheaper, but softens near the vent over time |
| Peels off in one piece at move-out | May need a hair dryer to release the glue |
Go with wrap if the dishwasher sits close to your stove. Contact paper is fine everywhere else.
7. Swap the Flush-Mount Ceiling Light for a Plug-In Pendant
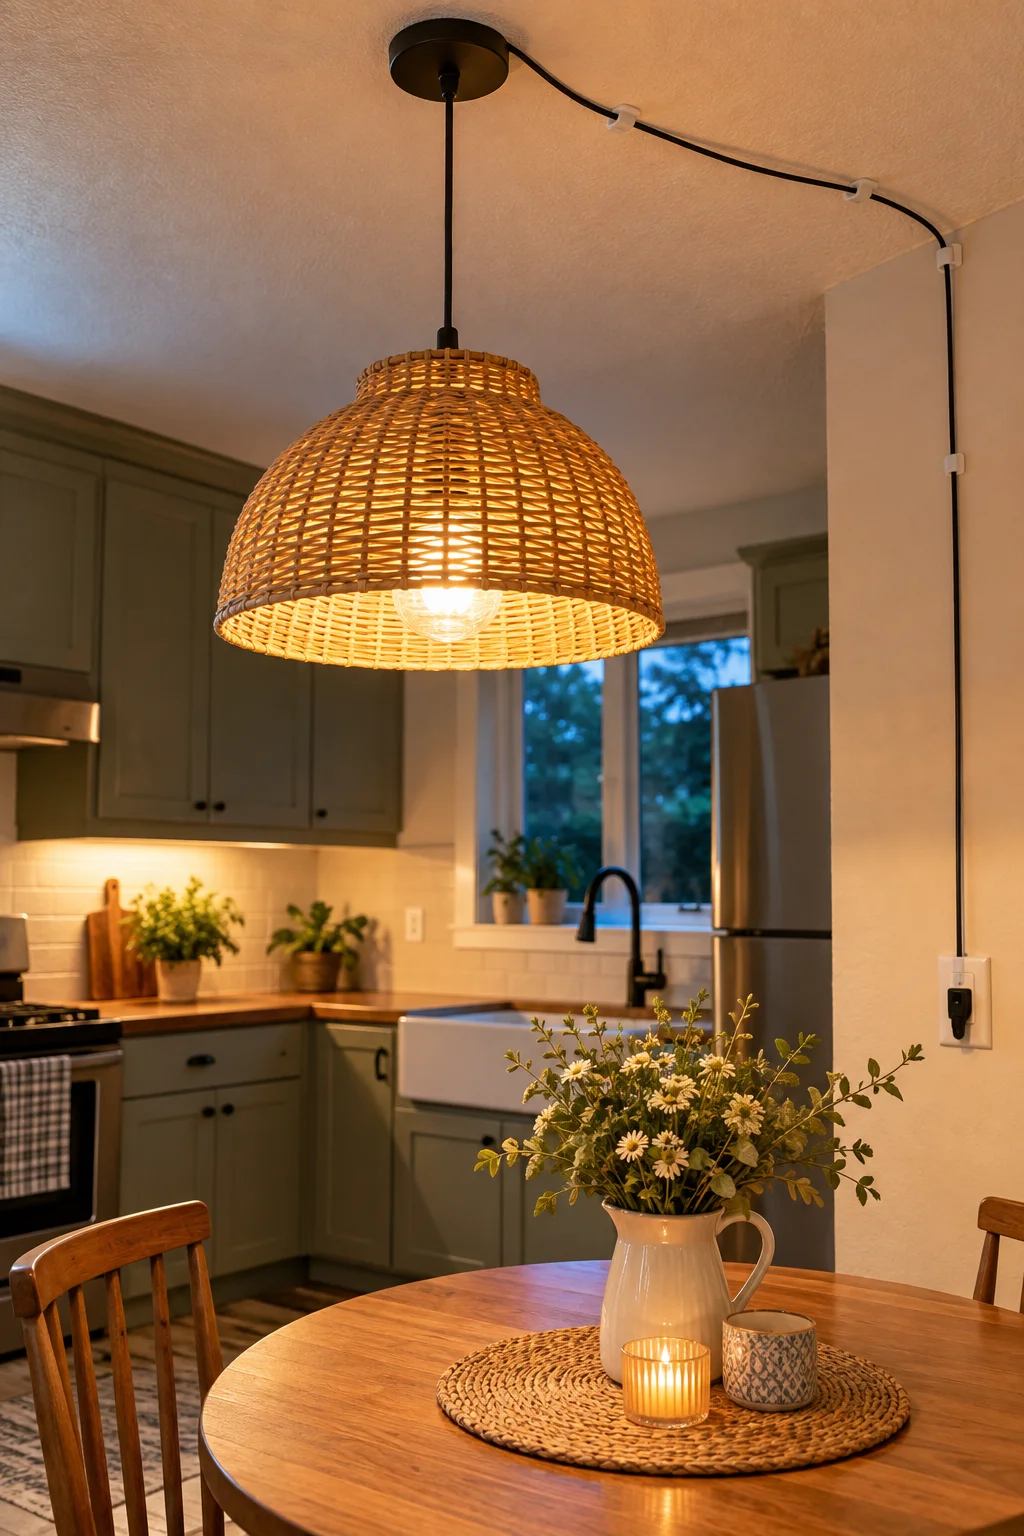
A plug-in pendant changes the whole feel of a kitchen without an electrician anywhere near the ceiling. It runs on a cord you route along the ceiling with small adhesive hooks, then plugs into a regular outlet. The flush mount fixture stays boxed up in a closet, ready to go back before you move out.
Pick a pendant with a longer cord than you think you need, since routing it along the ceiling eats up length fast.
A flat, glowing flush mount that lights the room without any warmth.
A pendant with real shape and a warmer bulb, hung exactly where you want it.
8. Run a Warm LED Strip Under the Cabinets to Kill the Fluorescent Glow
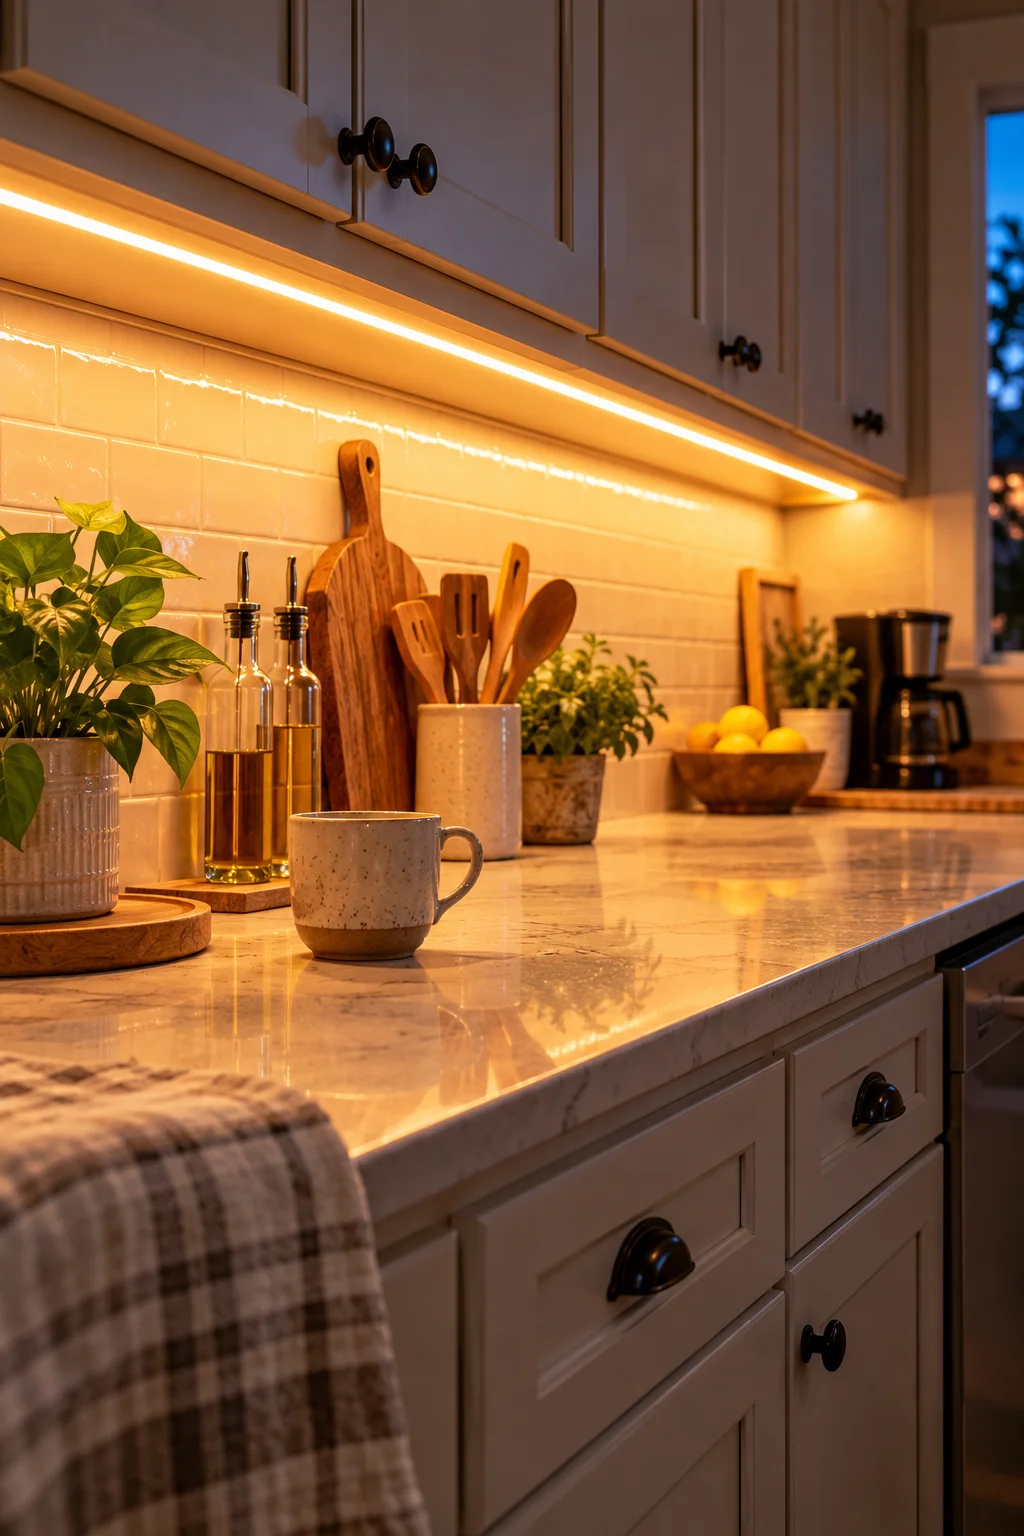
Skip anything labeled daylight or cool white. Those tones make white cabinets and counters look almost clinical, which is the opposite of what you’re going for. Warm white, somewhere in the 2700K to 3000K range, softens everything under it.
Here’s what actually makes the install painless:
What to grab first
9. Wrap the Boxy Range Hood in a Simple Wood Cover
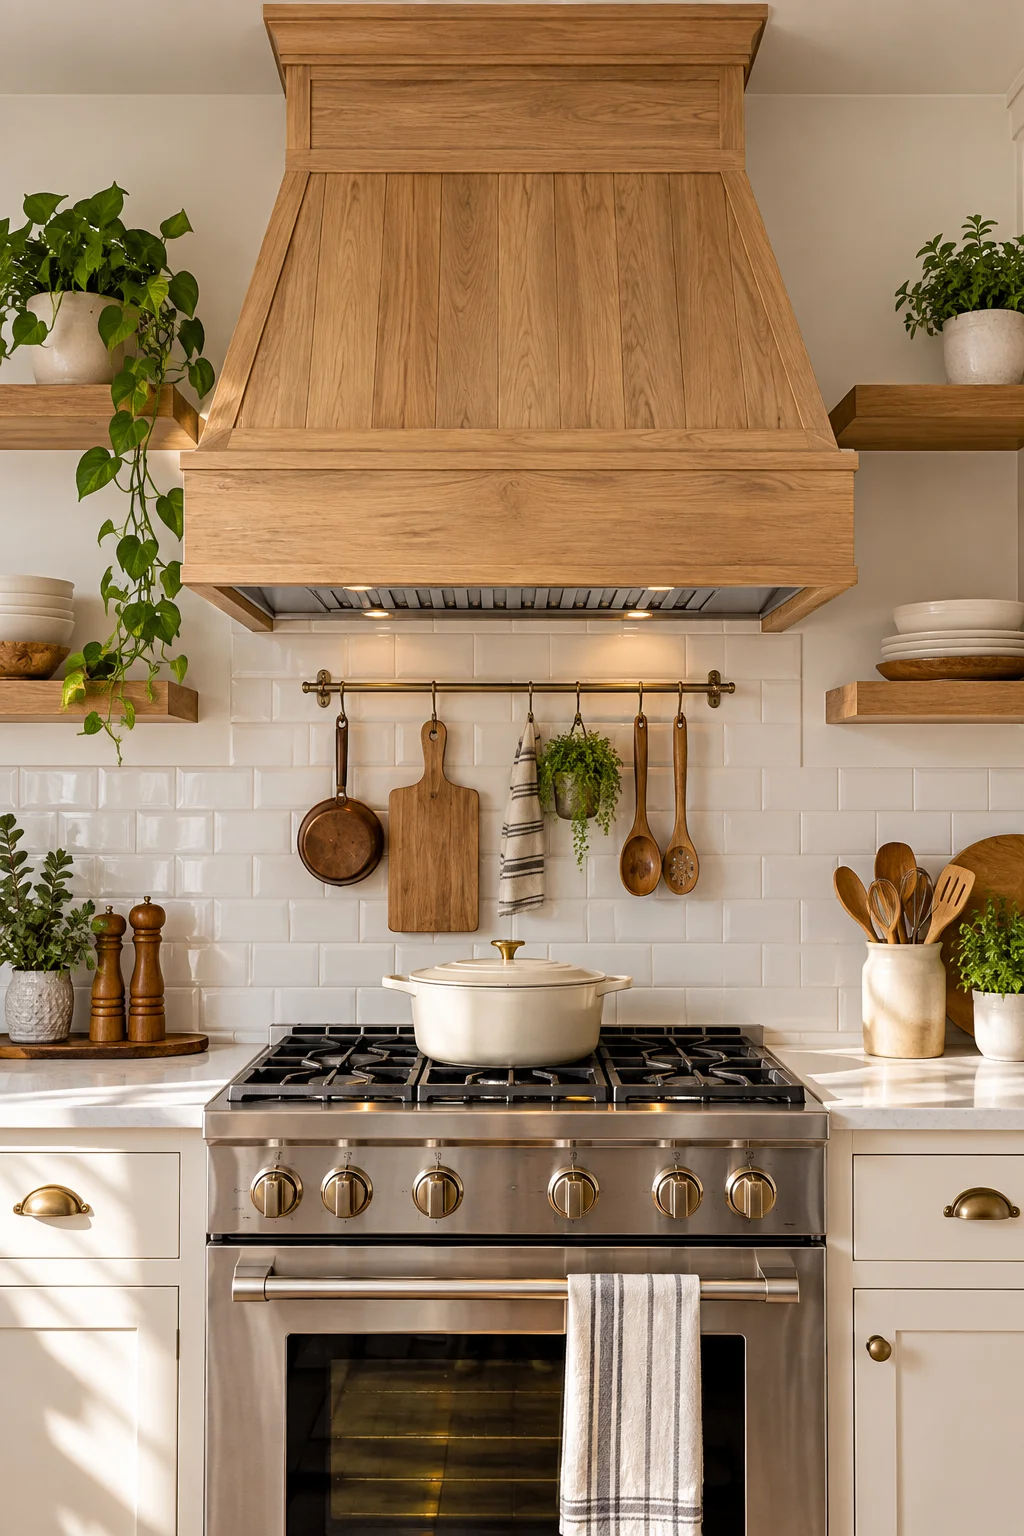
Every builder grade range hood is basically the same white metal box, and it sits right at eye level where you can’t ignore it. A slip-on wood cover, sized to fit over the existing hood without any hardware, softens that box shape into something that looks intentional. It rests over the metal and lifts off in seconds if your vent ever needs servicing.
Measure your hood’s width and depth before ordering. Covers run a few standard sizes, and a loose fit looks worse than the bare metal did.
10. Trade the Standard Faucet for One With Actual Personality
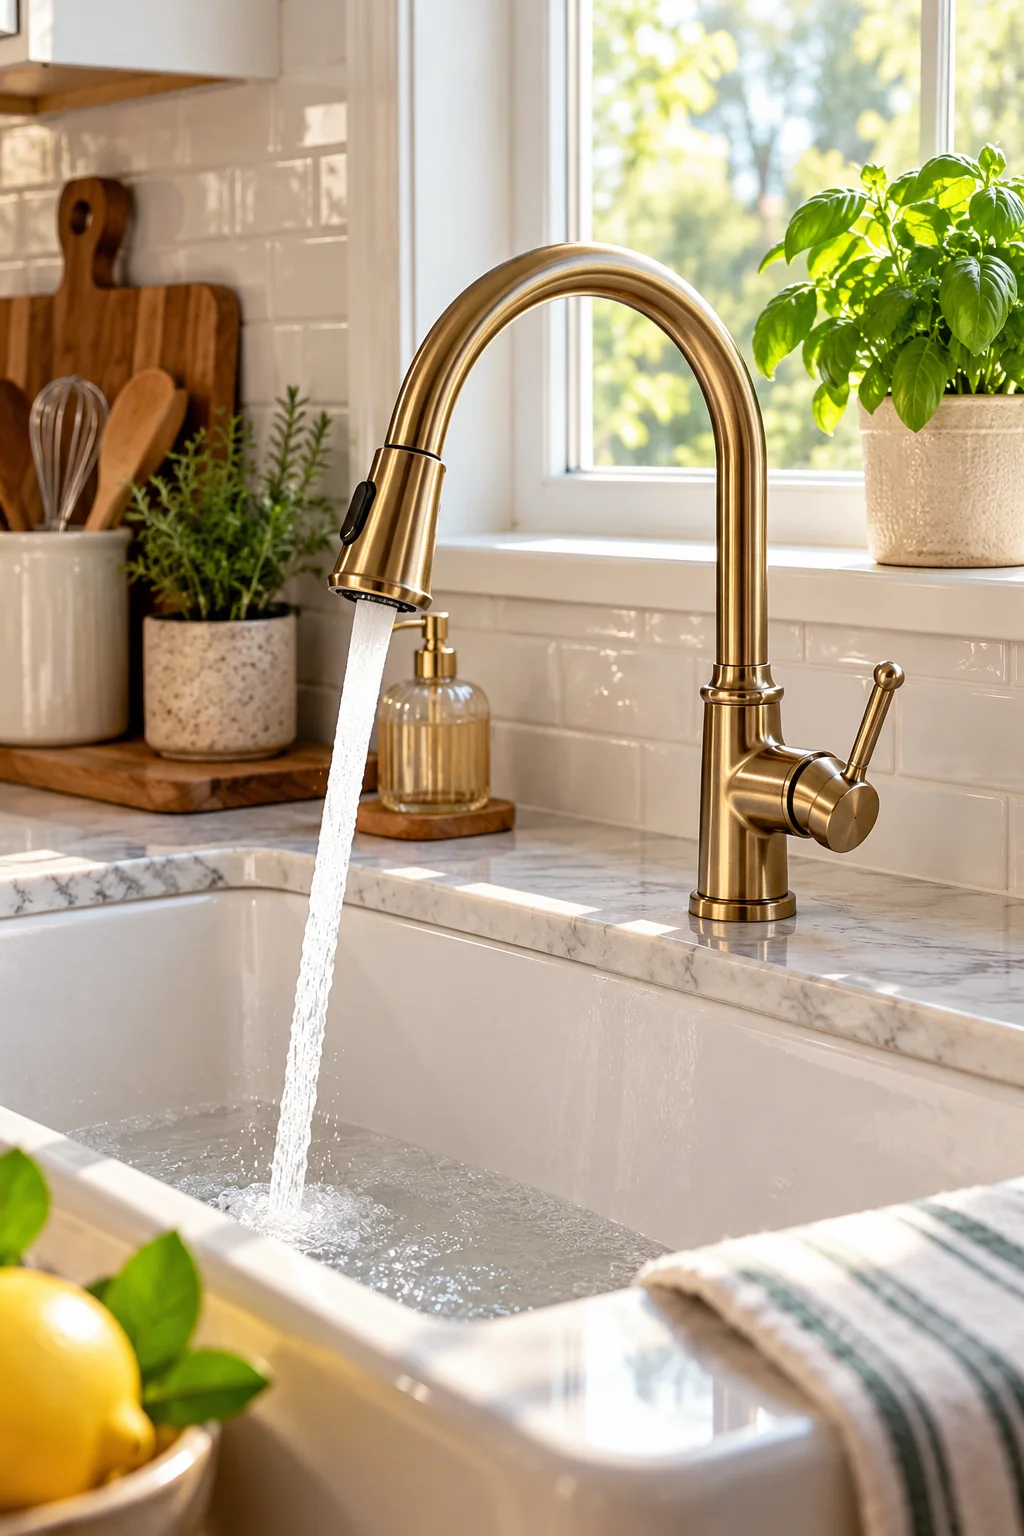
The stock chrome gooseneck faucet is one of the easiest swaps in the whole kitchen, and most fit standard sink holes without any plumbing changes. Keep the original faucet in a labeled box, since landlords almost always want it reinstalled before you leave.
💡 Quick Tip
Check whether your sink has one hole or three before you buy. A single-hole faucet won’t cover gaps left by a three-hole setup.
11. Swap Flat Switch Plates for a Finish That Matches Your Hardware
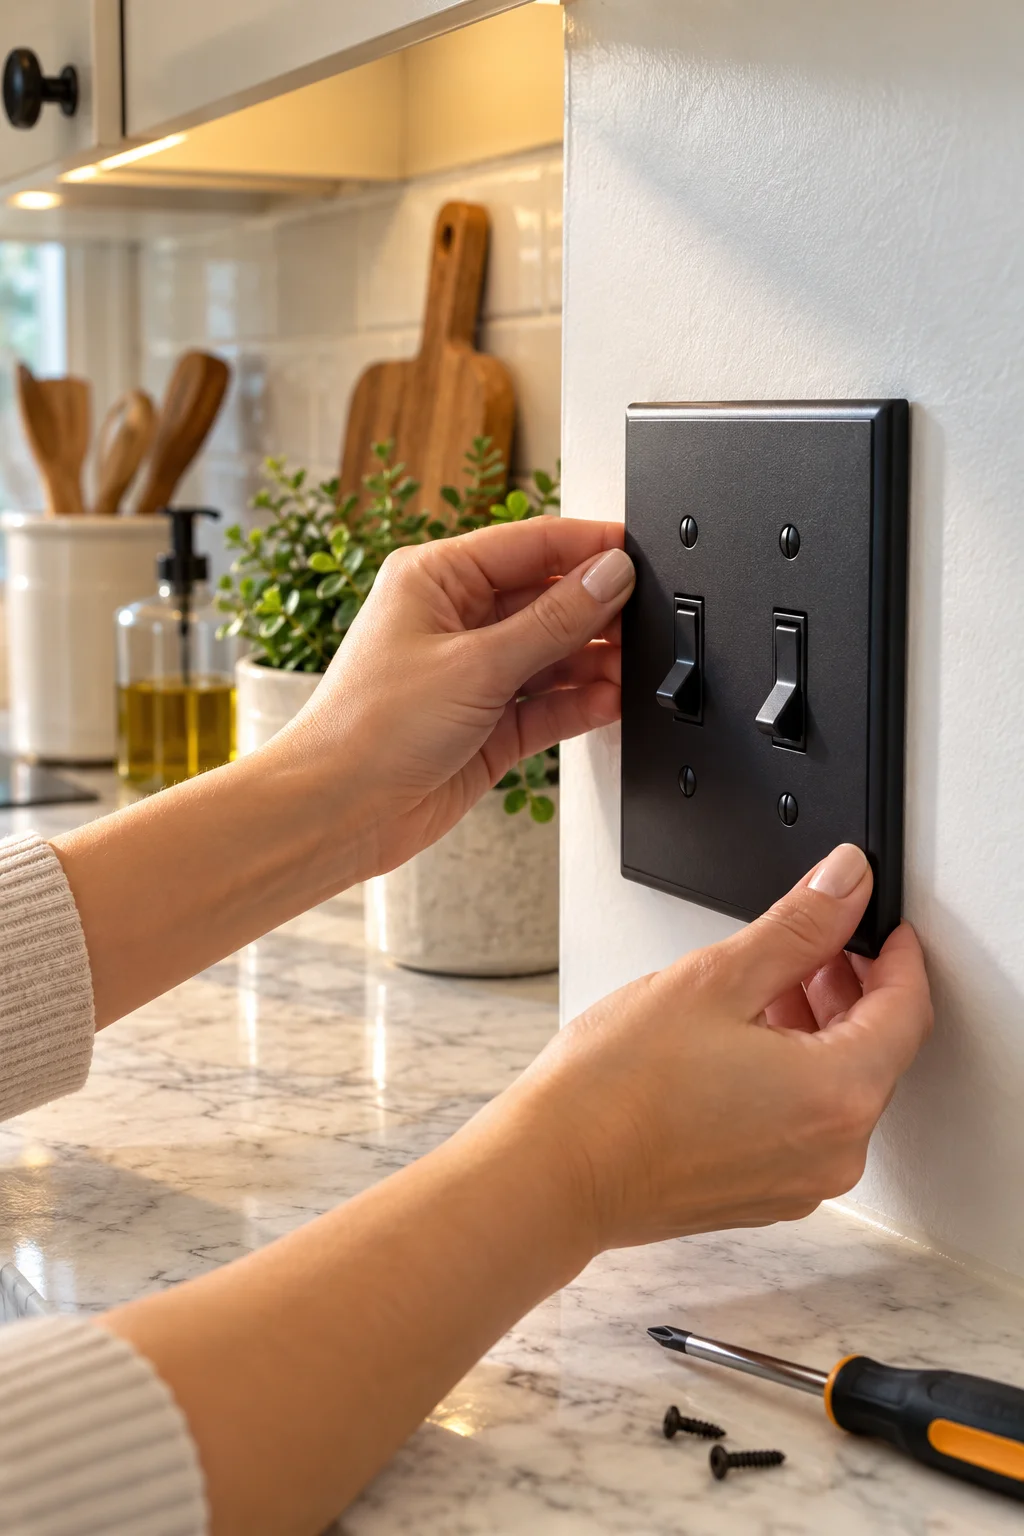
Most people forget switch plates entirely until every other update is finished, and then the plastic cover suddenly looks like the last builder grade thing left in the room. They’re held on by two screws and cost less than lunch.
html
Pick whichever finish matches your new cabinet pulls, not whichever one looks nicest alone in a store.
12. Update Outlet Covers Near the Sink With Splash-Rated Options
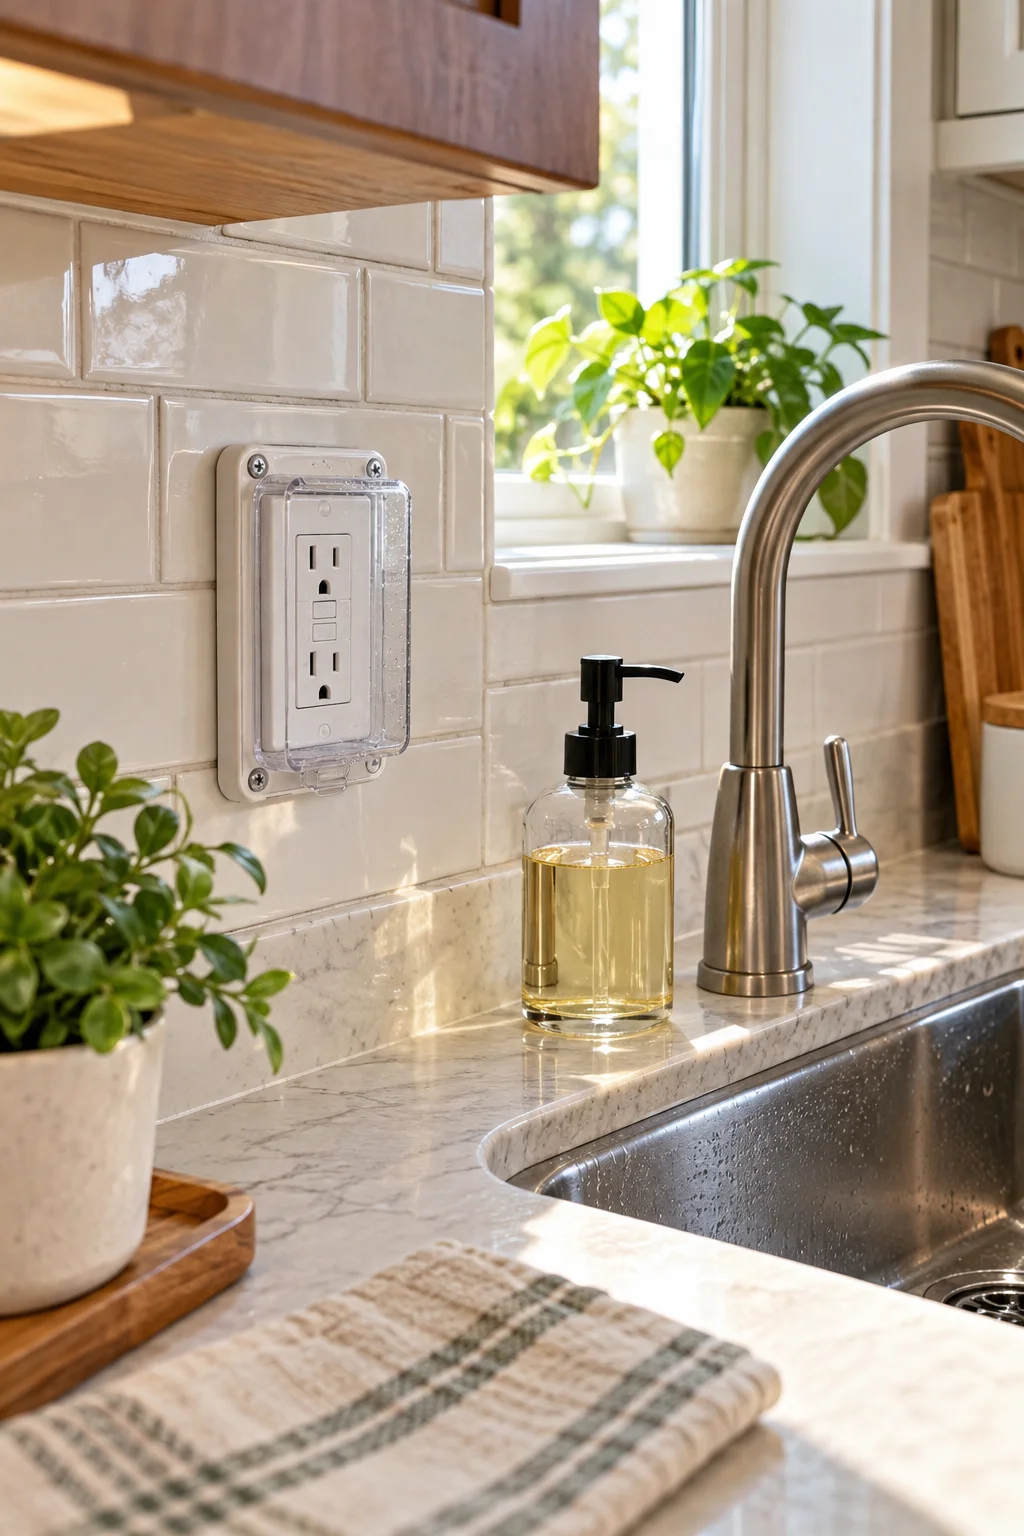
Outlets near the sink deal with more than looks. A lot of rentals still have the plain plastic covers instead of ones rated to protect against splashes, which matters more once you’re doing dishes right next to them daily.
- ▸Look for a cover labeled weather resistant or in-use, which also handles kitchen splash.
- ▸Match the finish to your switch plates so the wall reads as one update, not two.
- ▸Save the original covers, since some leases require the exact GFCI setup to stay intact.
13. Layer a Rug Over Scuffed Vinyl Flooring the Right Way
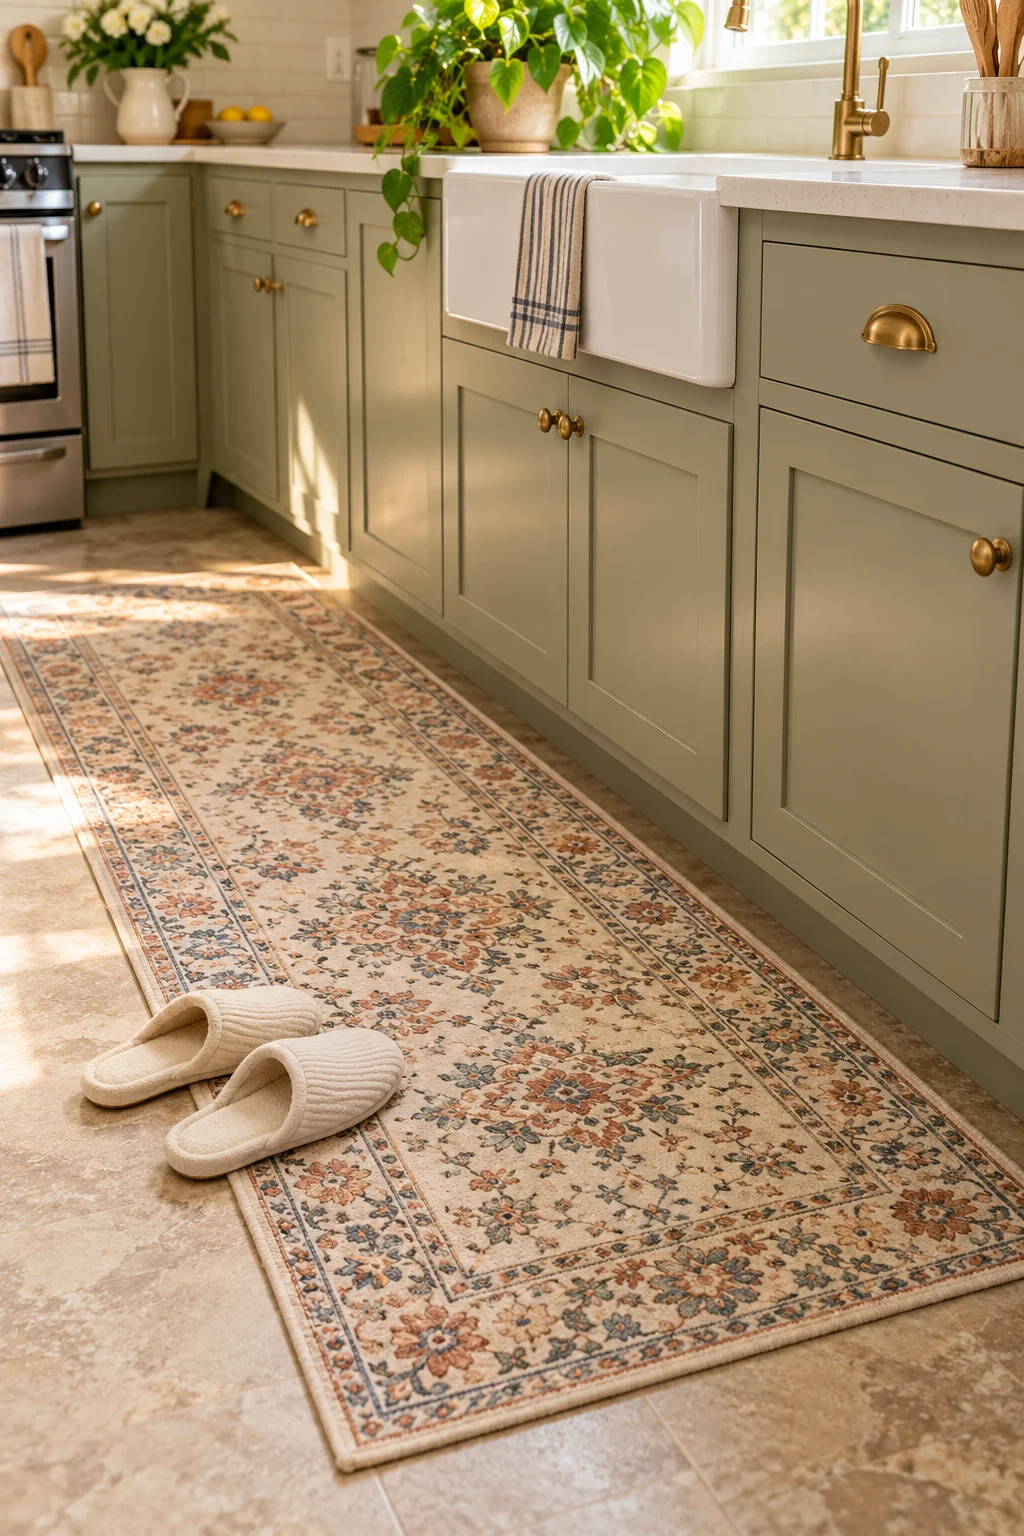
Skip whatever thin rug you already own for the living room. Vinyl is slick, and a rug without a proper backing turns into a tripping hazard the first time you’re carrying a hot pan.
Choose a rug with a rubber or latex backing made for hard floors.
Wash it monthly since kitchen floors collect more grease than any other room.
Fluffy or shag rugs, since spills soak in and stay hidden.
Placing it directly in front of the stove without a heat-safe mat underneath.
14. Refresh Dingy Grout Lines With a Tinted Grout Pen
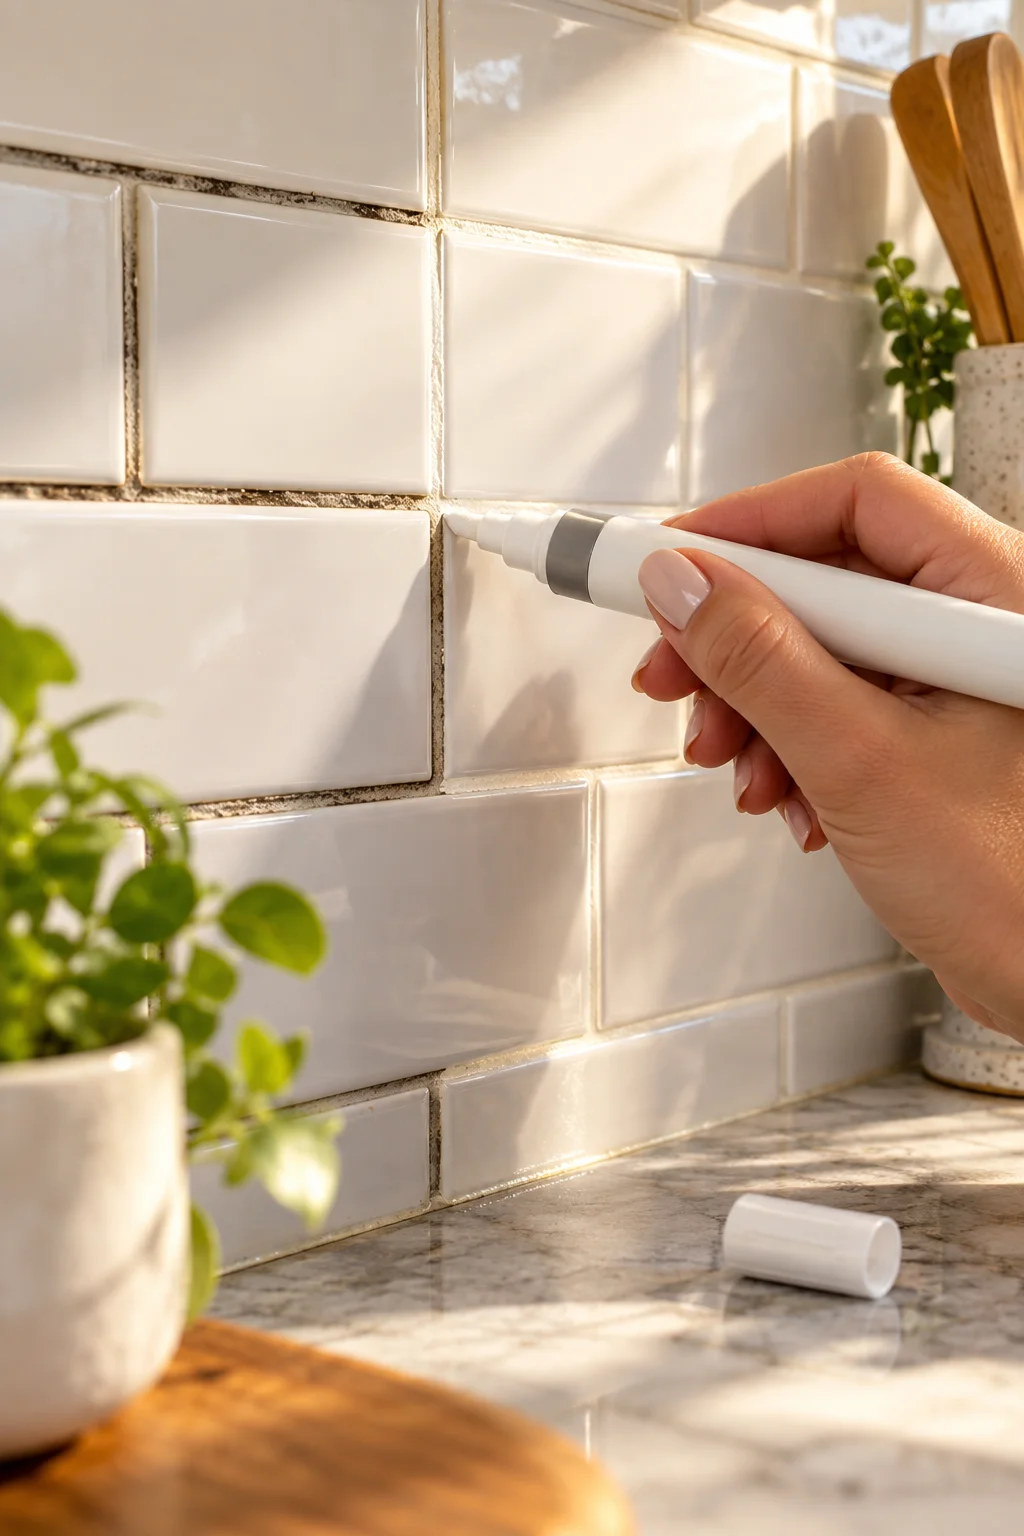
The grout between your backsplash tile turns grey within a year no matter how often you wipe it down, and that grey line is really what reads as dirty, not the tile itself. A grout pen paints a fresh white or light grey stripe directly over the old line in one pass.
⚠️ Watch Out
Test the pen on a small hidden section first. Some formulas dry a shade whiter than the tile itself and end up looking chalky under kitchen lighting.
15. Replace Standard Mini Blinds With a Cafe Curtain on Tension Rods
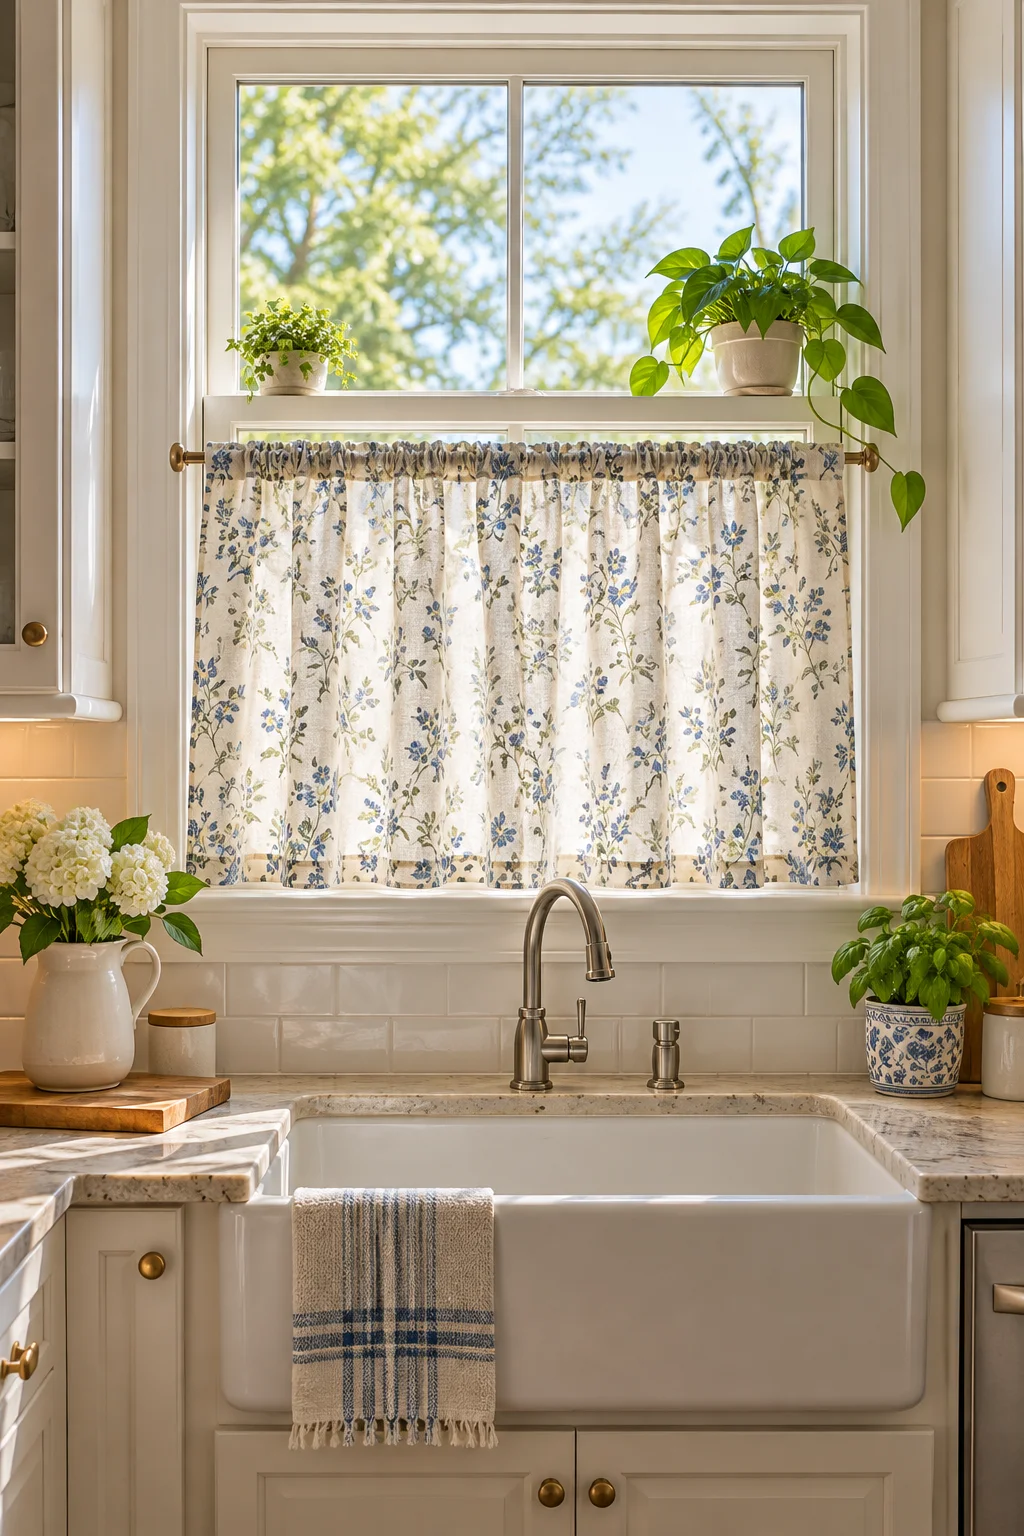
Mini blinds do one thing well: they block light evenly and boringly. A cafe curtain on a tension rod covers just the bottom half of the window instead, which adds color and privacy while still letting light in up top. No mounting hardware touches the window frame.
Plastic mini blinds, slightly bent, blocking the window evenly and flatly.
A patterned cafe curtain covering just the lower half, with light still coming in above.
16. Hide Open Shelving Gaps With a Simple Curtain Skirt
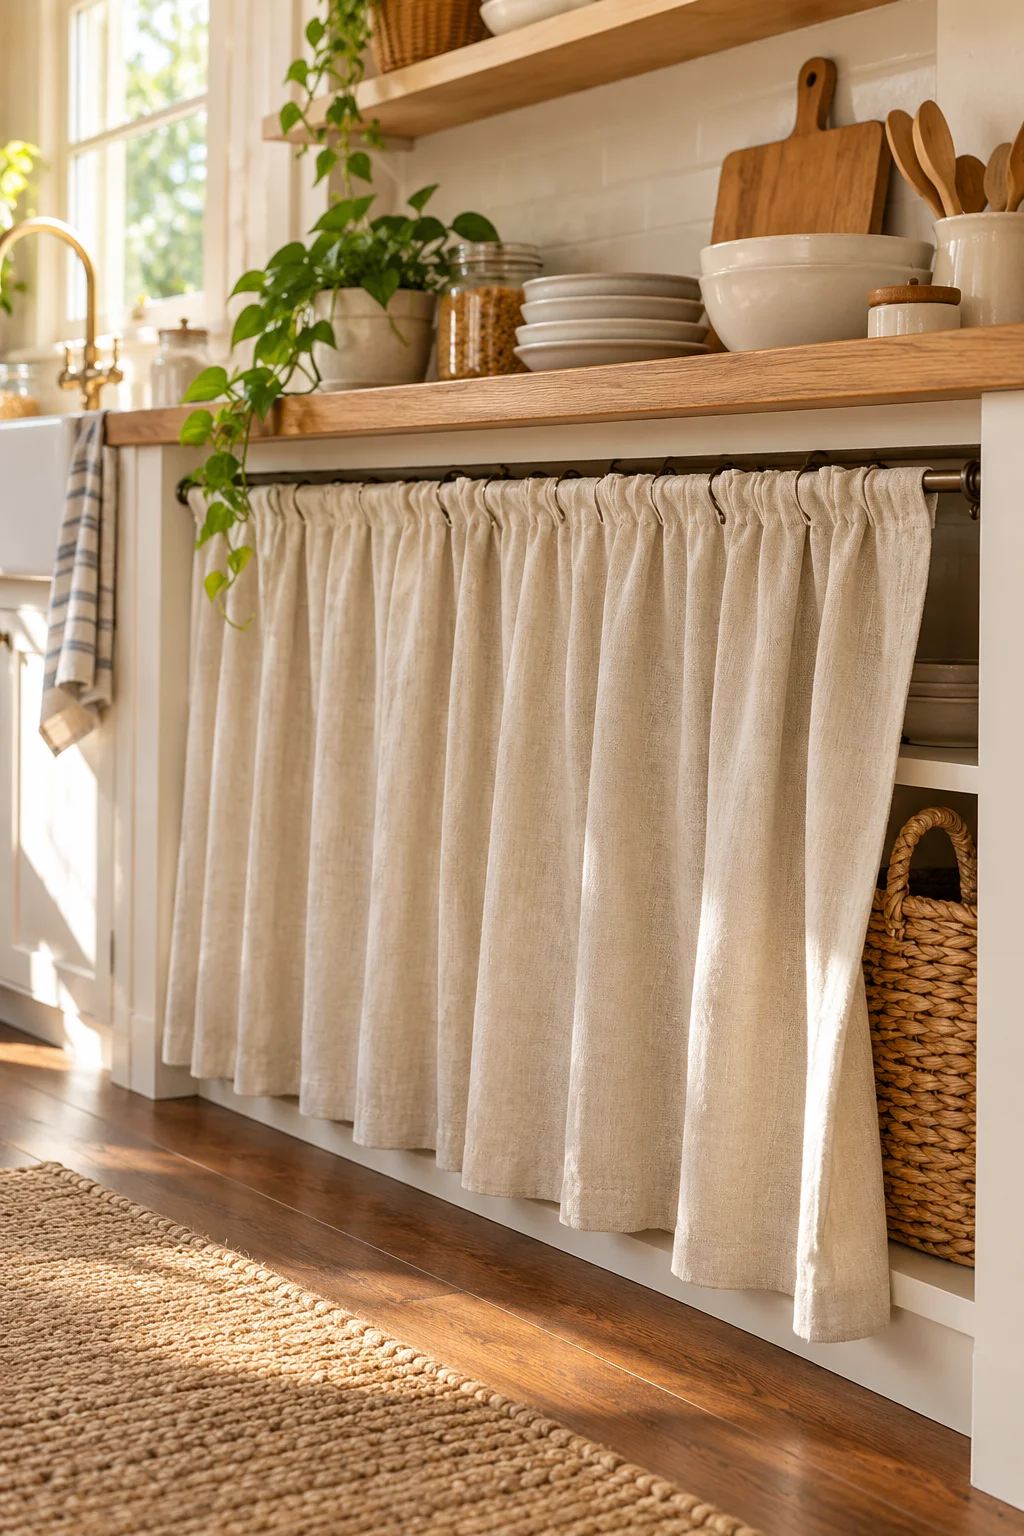
Open shelving under a counter or sink looks intentional in a showroom photo and looks like a mess of mismatched bins in real life. A curtain skirt on a tension wire fixes that in one afternoon, no rod pocket sewing required if you use clip rings instead.
- Measure the opening width before buying fabric, not after
- Choose a cotton or linen blend so it hangs flat instead of clinging
- Add a second wire behind the first for double layered fabric if the shelving still peeks through
The gap disappears completely, and you still get full access by just pushing the curtain aside.
What to grab first
17. Cover a Dated Vent or Radiator With a Decorative Shell
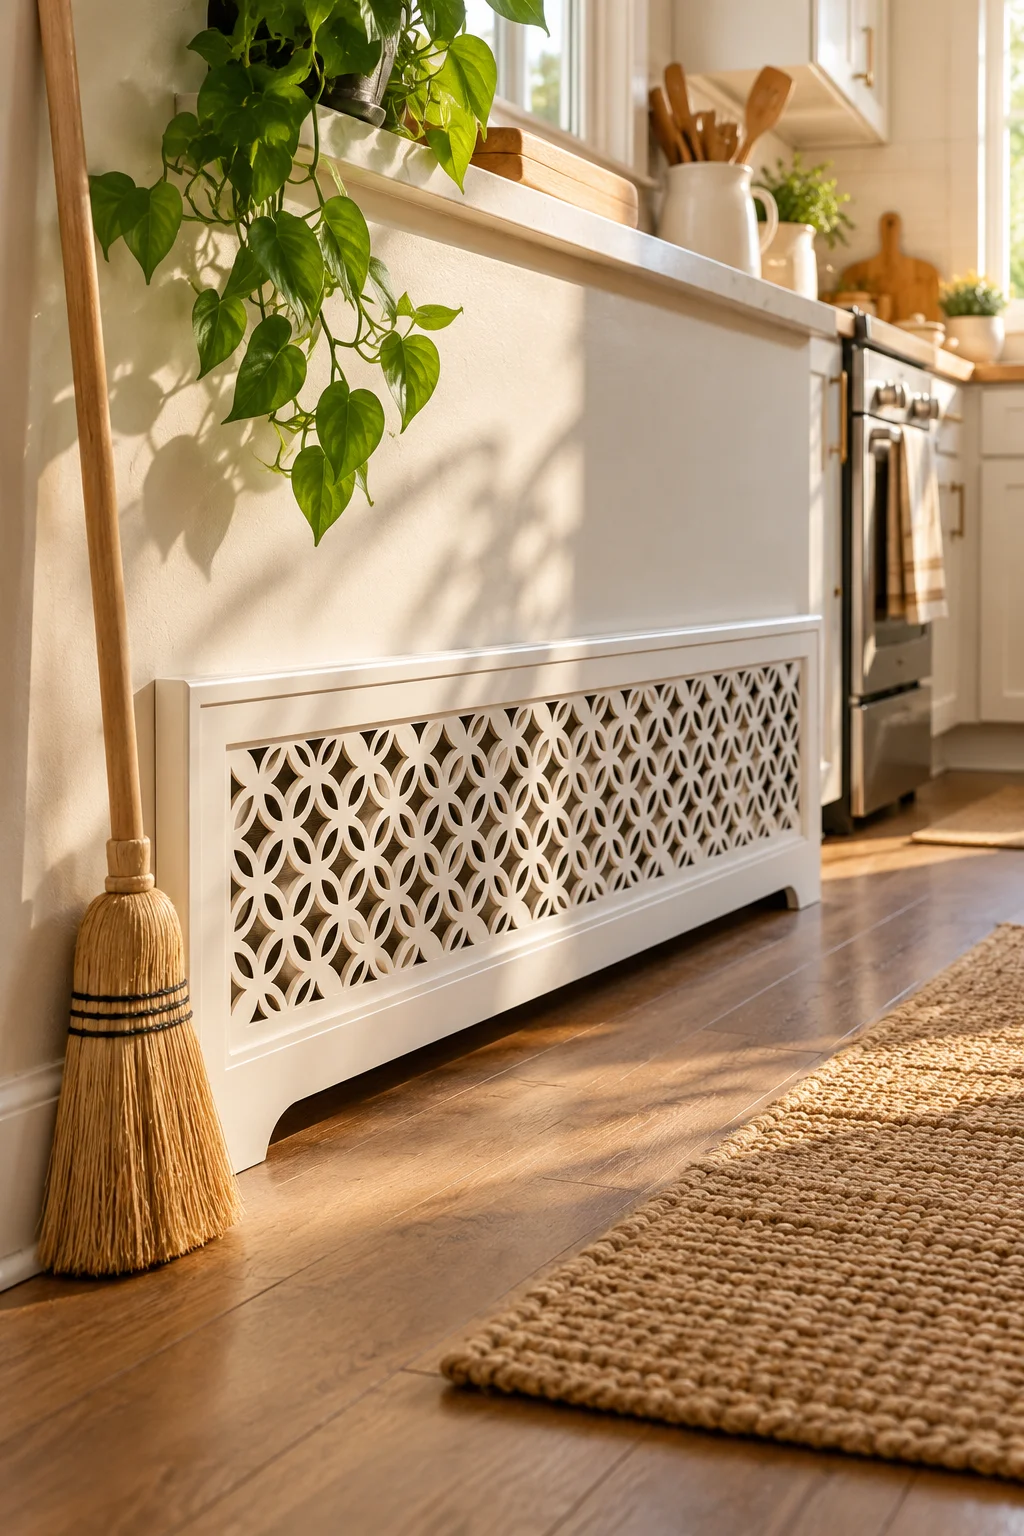
A rusted or mismatched vent cover sits right at floor or wall level where it’s impossible to miss once you notice it. Slip-on decorative shells rest over the existing metal grate without blocking airflow, since they’re built with the same vent openings underneath.
Measure the grate’s exact width and height first. A cover that’s even slightly too small won’t sit flush and will draw more attention than the bare vent did.
18. Disguise Bare Cabinet End Panels With Removable Wallpaper
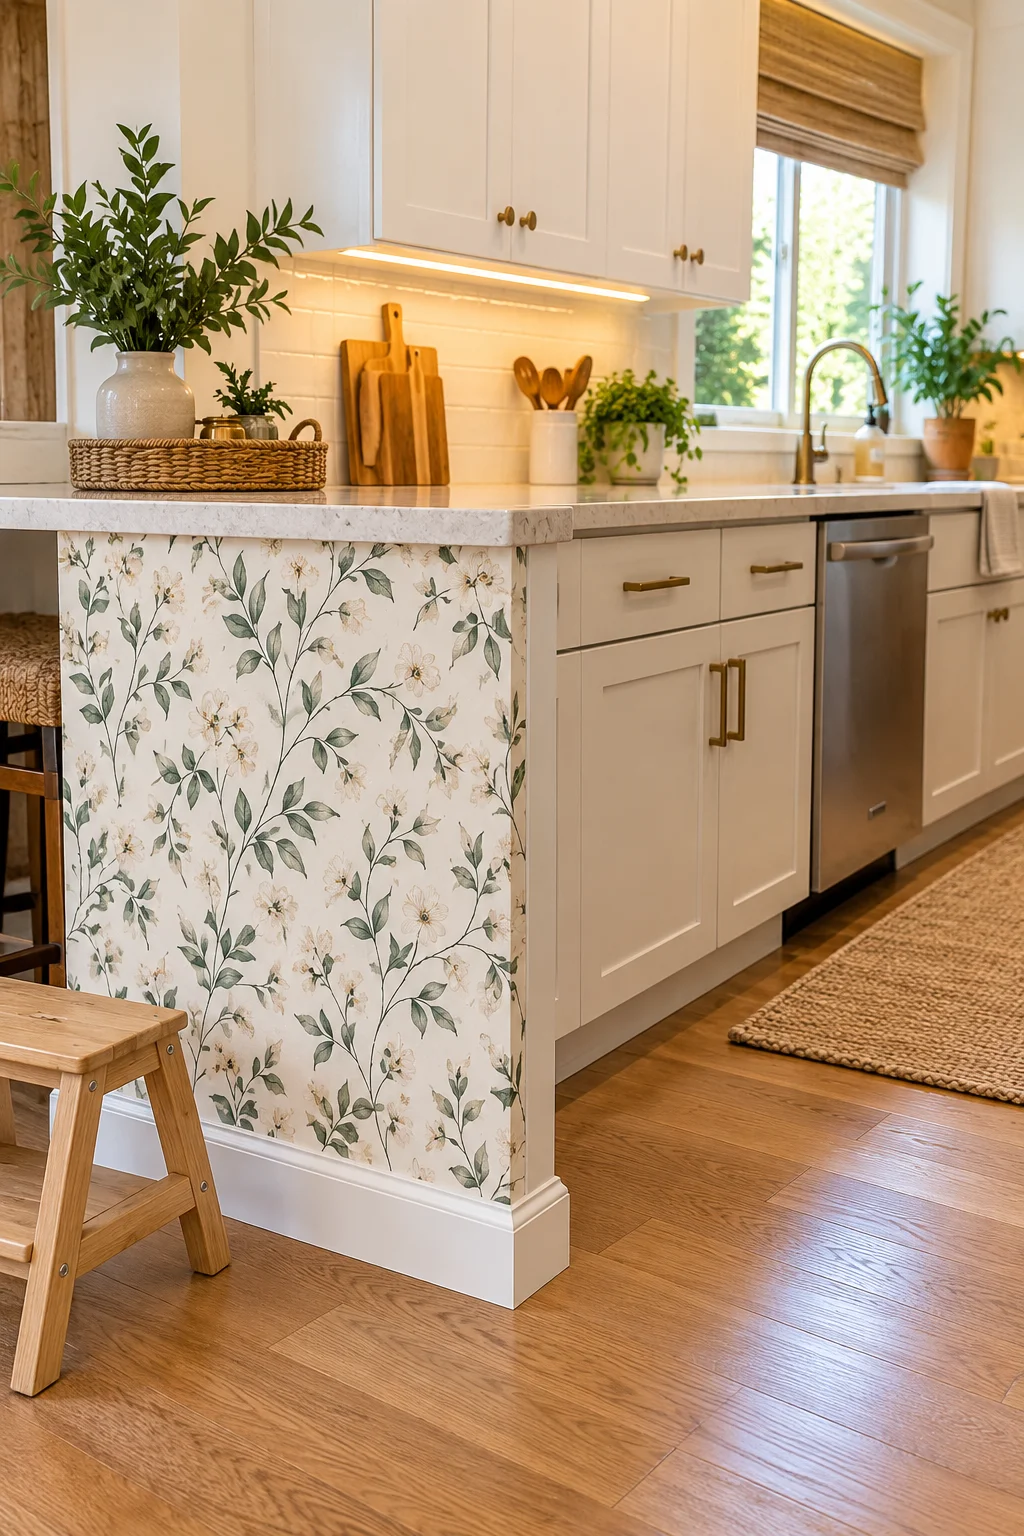
Cabinet runs almost always end with one blank plywood panel facing the room, and it’s usually the least finished surface in the whole kitchen. Removable wallpaper covers that panel edge to edge without touching the cabinet box itself.
| Removable Wallpaper | Contact Paper |
|---|---|
| Thicker texture hides plywood grain underneath | Thinner, so panel texture can show through slightly |
| Repositionable while applying, forgiving for beginners | Sticks fast, less room to adjust once placed |
Wallpaper is the more forgiving choice if this is your first time hanging anything like it.
Conclusion:-
None of these rental kitchen ideas require a landlord’s permission or a security deposit gamble. Most take an afternoon, cost less than a nice dinner out, and peel off clean whenever you move. The point isn’t to trick anyone into thinking you own the place. It’s to stop noticing the parts of your kitchen you didn’t choose, one small swap at a time.
Start with whatever bothers you most every single day. For a lot of people that’s the counters or the lighting. Fix that one thing first, live with it a week, then decide what’s next.
Save this list for the next time your rental kitchen feels more like a placeholder than a place you actually enjoy cooking in.